
( RESOURCES ) Browse through our collection of tips & tricks for Squarespace, Shopify, web design, and business. It’s a digital trove of creative ideas right at your fingertips.


Shop our Creative Components Library
Our collection of ready-to-use plugins for Squarespace and Shopify
Welcome to our Creative Components Library—a revival of our popular Stylish Sections shop from 2020. This blog post guides you through our various shop offerings (Free, Perk, Premium, and Exclusives) and shares our vision for the shop's future growth.
Shop our creative components
a.
Squarespace & Shopify
b.
Creative Components Library
From Stylish Sections to Creative Components
Many of you might remember our original Stylish Sections shop. It was an overwhelming success back in 2020—a tipping point that completely changed the trajectory of my life and career. Not only did it help my young business thrive, but it also showed me something important: people want to create more unique and stylish websites, ones that didn’t look like at all like templates.
This insight prompted me to develop my flagship course, Standout Squarespace. Our team decided it would be best to temporarily close the shop to focus on building a solid course guiding you on how to design and code stunning websites without limitations. Now, we're thrilled to bring back our shop, new and improved, by popular demand!
What's New in the Creative Components Shop?
Our new Creative Components shop reflects everything we've learned from you and our experiences in web design education. Here's what you can look forward to:
A wider range of components for multiple use-cases, no matter the industry
Improved customization options to perfectly match your brand
Regular updates and new additions to keep your websites fresh and on-trend
Seamless compatibility with the latest Squarespace and Shopify features
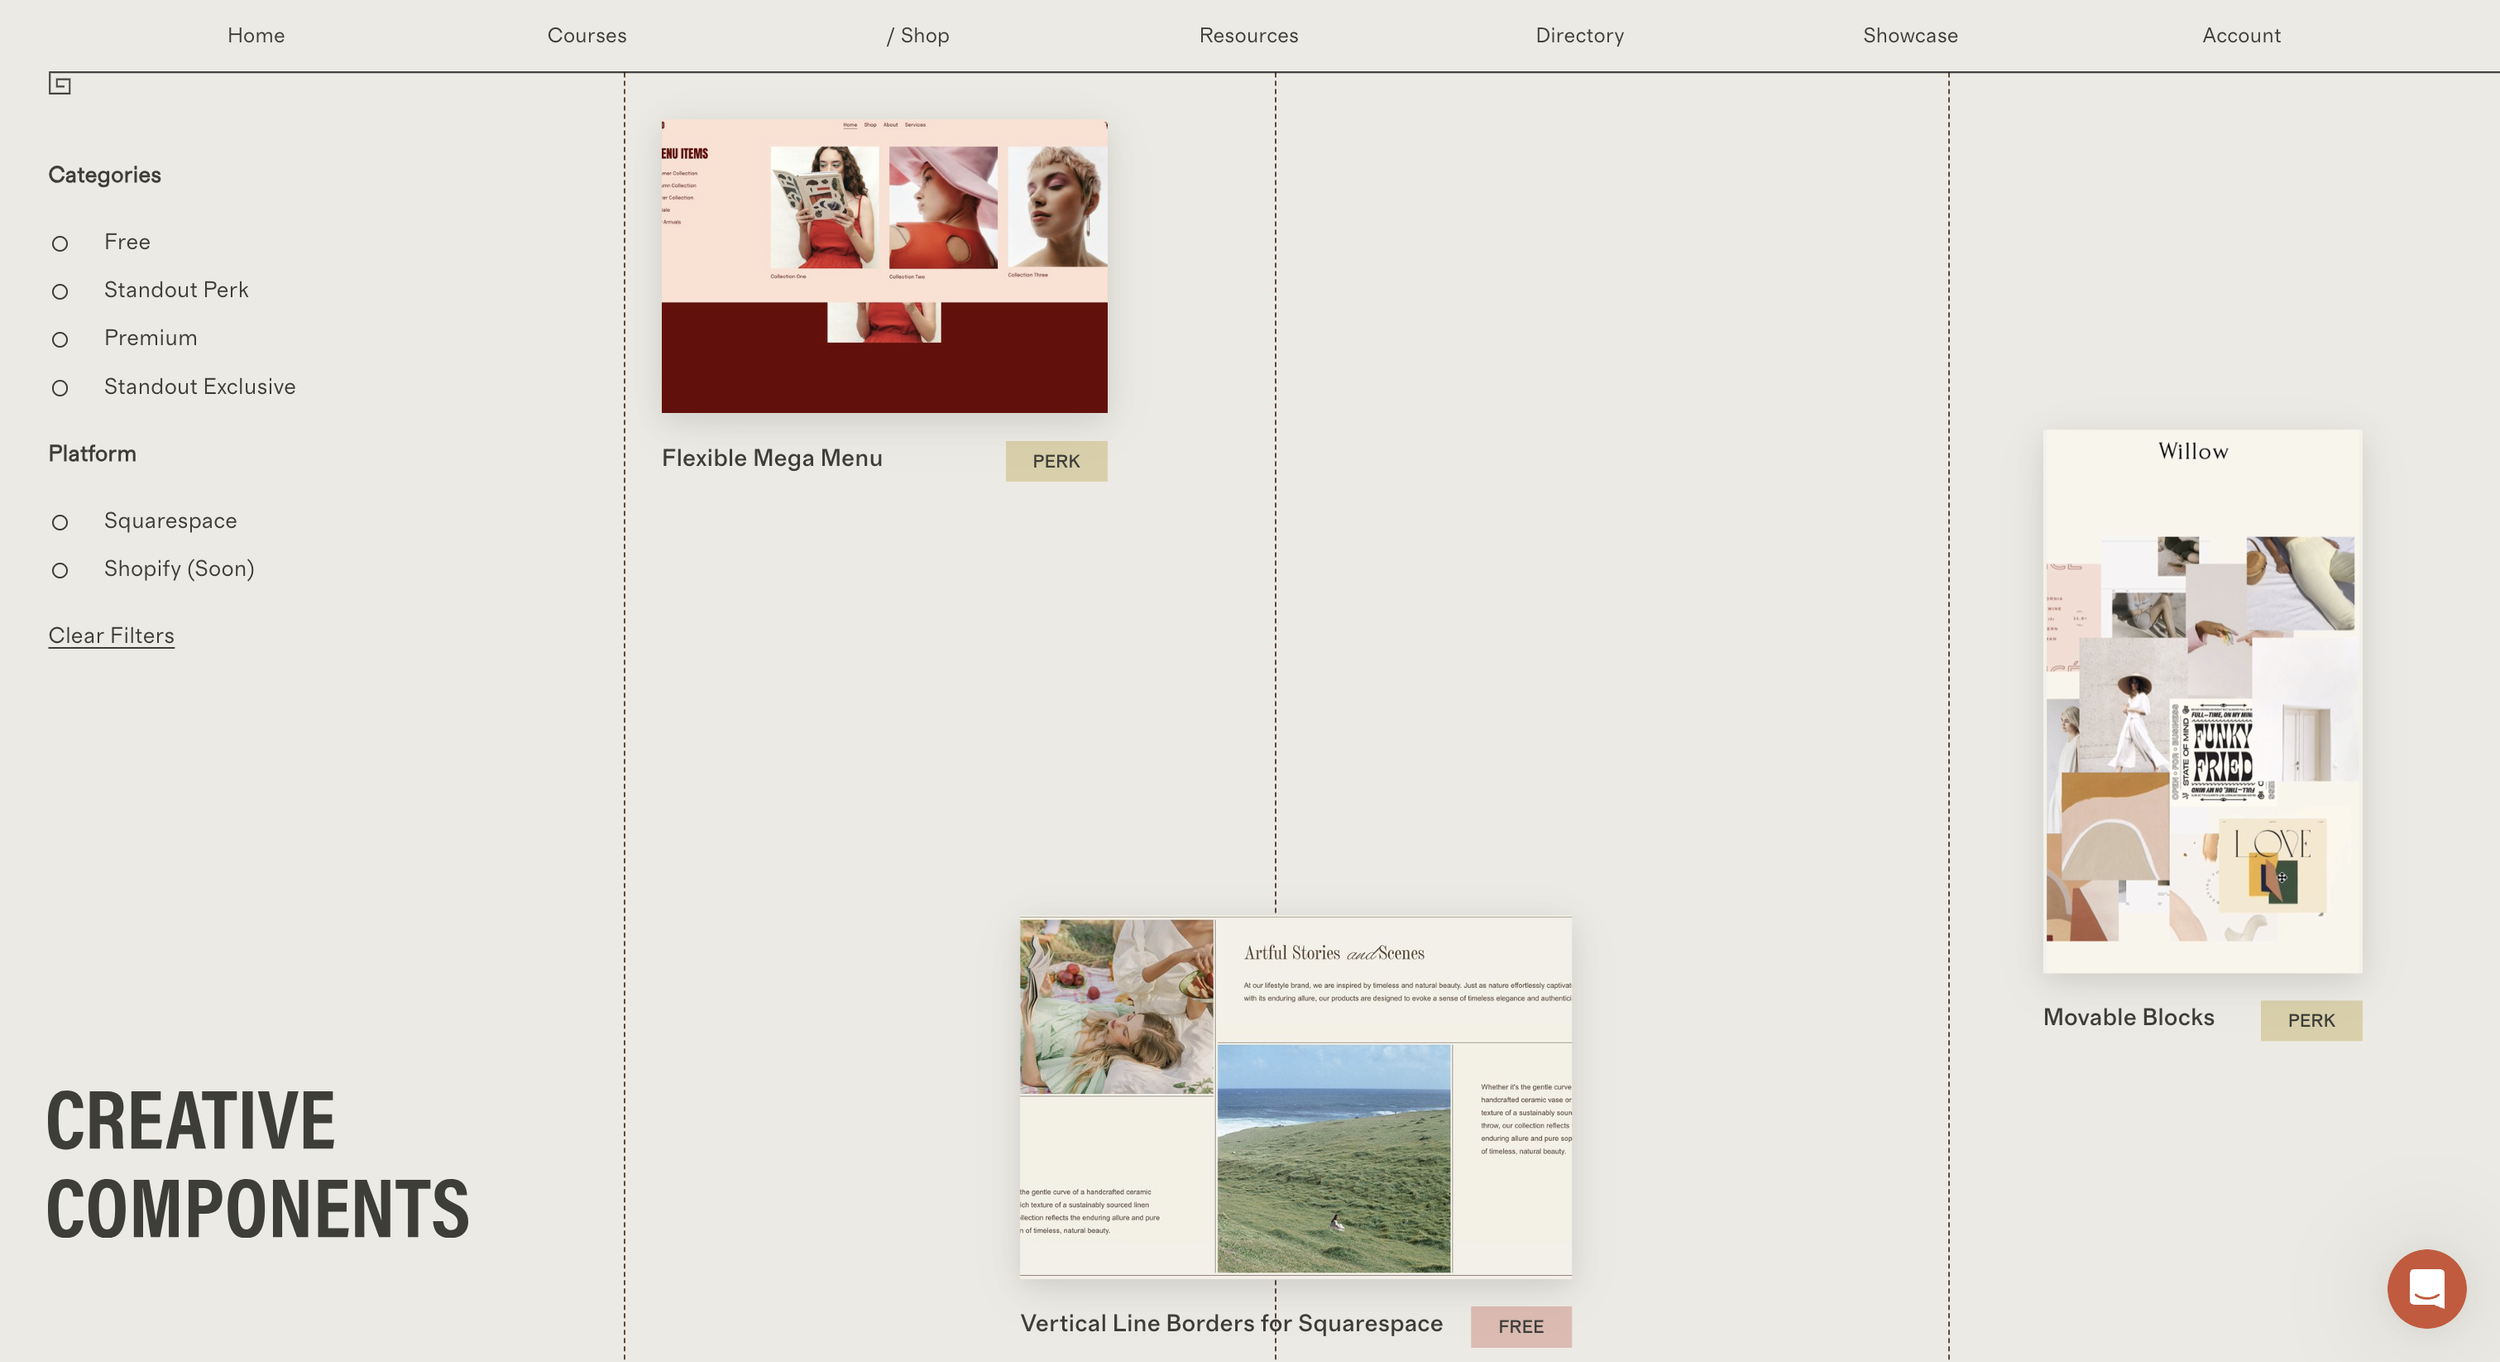
Creative Components offers: Free, Perk and Premium
This shop serves different purposes in our offer suite, so I'd like to walk you through what this means for you, especially if you’re a Standout Squarespace or Standout Shopify member:
First, we have Free components. These are just free code snippets that I share primarily on YouTube or on our blog.
There's our Standout Perk category, which include code techniques from our Code Toolkit (free for all Standout members) but are now available as one-off components via our shop. I’ve also improved our classic components such as the Mega Menu, Movable Blocks et al.
Lastly, we've added Premium components which are not included as part of the Standout program but active Standout members can purchase them at a discounted rate of 30% off. This is an evergreen discount available to you as long as you are an active Standout member.
You will notice there are code snippets that we call Standout Exclusives. These are coding techniques available in our Code Toolkit but that are not sold as separate one-off products on our shop. The only way to access and use these components is by enrolling in any one of our flagship courses, Standout Squarespace or Standout Shopify.


Why We're Excited (And Special Offers for you to be excited about too!)
This shop is more than just a collection of beautiful design elements. It's a toolbox that empowers you to create websites that truly stand out. Whether you're a seasoned pro or just starting out, our components will help you take your projects to the next level.
Do visit the shop every so often as we’ll be filling up this library of components gradually the next coming months—I can’t wait for you to scroll through hundreds of hand-coded possibilities to incorporate in your next build.
Here's to creating stunning websites together,
Rache

How I built my dream Shopify Theme
How I built my dream Shopify Theme and how you can build yours too.


In this video, I walk you through all the thoughtful features of this theme and my approach in building such. You also have the option to access this theme and use it in your projects by enrolling in my Shopify course, Standout Shopify
How I built my dream Shopify Theme
a.
Shopify
b.
Video Walkthrough
Introduction
I used to spend $400 for every Shopify project that I take on as a web designer. But I'll never have to do that again since I built my very own Shopify Theme - The Esencia Theme. It's the best Shopify theme based on my style and requirements as a web designer. In this video, I walk you through all the thoughtful features of this theme and my approach in building such. You also have the option to access this theme and use it in your projects by enrolling in my Shopify course, Standout Shopify.
A Preview of the Esencia Theme
Timestamped Overview
0:00 Introduction: Easier Custom Font Installation for Squarespace
0:08 Introducing the tool, CustomFontWiz
0:32 Benefits of using the magical tool for Designers and Template Sellers
2:14 Step-by-Step Guide: Adding custom fonts to squarespace
4:04 Which font format to use: woff2 vs woff vs otf
5:28 Importance of Font Licensing
6:45 Example of Using High-Quality Free Fonts
8:15 Uploading and Generating Font File Path
10:06 Applying Custom Fonts to Different Elements
11:56 Additional Tips for Efficient Custom Font Application
Resources
Formatted Transcript
I used to spend $400 on every new Shopify project as a web designer. Each time, I had to purchase a paid Shopify theme and then spend days customizing it to fit my client's brand. These themes often came bloated with features I didn't need, which slowed down site performance. That's when I decided to take matters into my own hands and learn how to build my own Shopify theme.
Now, I no longer need to spend that money or time because I've created a versatile, lightweight, and powerful Shopify theme tailored to my taste and aesthetics. This theme, which I call the Esencia Theme, has functional and design-forward section templates that I can further style to suit any brand I'm working on. It's flexible enough to be used in every project and designed to optimize searchability, accessibility, and performance.
Key Features and Customization
Starting with Shopify's Dawn Theme: I began with Shopify's free Dawn theme. It's lightweight, mobile-first, and has minimal JavaScript, making it a great starting point. From there, I added my custom CSS file for further styling.
Adding a Custom CSS File: I created a CSS file with all the style customizations that couldn't be done with the built-in options. This includes refinements for key elements like headers, buttons, and pop-ups. Keeping all my style customizations in one CSS file makes it easy to update with any changes to Shopify or the Dawn theme.
Introducing the Power Section: The Power Section is a game-changer for Shopify theme development. It allows for unlimited design possibilities by letting me add any element to the section grid. This means I can create unique layouts without having to code new custom sections or modify existing ones.
Incorporating Optional Section Templates: I also developed several stylish and functional section templates, like vertical tabs, marquee sliders, and content tabs. These templates are easy to customize and can be added to any page of the site, enhancing the design and functionality of each project.
Shopify Theme Development Process
Here's how you can leverage the Esencia Theme for your projects:
Start with a Base Theme: Use Shopify's Dawn theme as your starting point. Customize it with a CSS file to refine styles to your liking.
Add Power Sections: Use the Power Section to design flexible and dynamic layouts. This section allows you to add elements like images, videos, and app blocks anywhere within the grid.
Use Section Templates: Leverage the built-in section templates like vertical tabs and marquee sliders to create engaging and functional designs. Customize these templates using CSS for a unique look.
Utilize Metaobjects and Metafields: Combine section templates with metaobjects and metafields to add unique content to specific pages, such as product details or custom layouts.
Learn to Build Your Own Shopify Theme
If you're curious about how I built my own Shopify theme and want to take your design business to the next level, check out my program, Standout Shopify. The program offers two tiers:
Foundations Tier: Perfect for beginners, this tier provides a non-exclusive, unlimited license to the Esencia Theme and a comprehensive curriculum to get you started with Shopify theme development. You can use the theme in any of your client projects without additional costs.
Pro Tier: For those ready to push the boundaries of Shopify through coding, this tier offers advanced training and additional resources to help you build and customize your own themes.
You can start with the Foundations Tier and upgrade to the Pro Tier anytime. Any payments made for the Foundations Tier will be applied towards the Pro version.

Add Wavy Marquee to any Shopify Theme
Ever wondered how you can add those catchy scrolling wavy text statements to your Shopify site? Learn how to add a stylish wavy marquee for free in this video.
In this video, I'll walk you through how to easily add the Wavy Marquee feature to any Shopify site.
How to Add a Wavy Marquee Feature to Any Shopify Site
a.
Squarespace
b.
Video Walkthrough
Introduction
Wanting to add those catchy scrolling wavy text statements to your Shopify site? Learn how to add a stylish wavy marquee for free in this video. And don't worry if you're new to coding in Shopify, because I'll guide you through the process step by step.
Hi there! I'm Rache, the founder of Square Stylist and the creator behind programs for web designers, namely Standout Shopify and Standout Squarespace.
Timestamped Overview
0:01 Overview of adding the Wavy Marquee feature to Shopify
0:08 Feature Applicability: Can be added to any Shopify theme; step-by-step guide.
0:29 Instructions for accessing tutorial codes via the Resource Vault.
00:51 Steps to duplicate the Shopify site and create a staging theme.
01:26 Detailed guide on adding and editing the new section in the code.
02:12 Process of adding the Wavy Marquee section in the Shopify theme.
02:59 Customization options for text, background, and positioning.
04:58 Instructions for adding the Wavy Marquee to various pages and adjusting padding.
05:30 Encouragement to share creations and info on personalized support and programs.
Resources
To access the codes, please subscribe to our Shopify Resource vault for free
Access more workshops and personalized support through our Standout Shopify Program.
Preparing Your Shopify Site
Duplicating Your Theme
If your current Shopify site is live, I recommend duplicating it first, so we can work on a staging theme before publishing it live. To do that, click the three dotted icon under themes, and duplicate the current theme you have.
You may rename this staging theme—I typically add "dev" initials, so I would be able to differentiate it from all the other staging themes. Then, we'll click the three-dot icon again and hit edit code.

Navigating the Code
And I know some of you might be intimidated by the code, but don't worry, I'll walk you through the process. Our next step is to add a new section. In our code, we'll find folders here called layout, template, section, snippets, and so on.
What we'd like is to add a section, so we'll open this section by clicking this toggle, and then I'll create a new section by clicking the "add a new section" option, and then I'll start typing the file name, and I'll call it wavy-marquee, and hit done.
Setting Up the Wavy-Marquee
Some default content will be automatically loaded. We have to delete this by hitting command A or control A on your keyboard, and then deleting everything. Hit save, you may then click the Shopify wavy-marquee entry in our resource vault, and then opposite this main liquid file title, please copy this code by clicking the "copy code" button.
Then we paste all the codes in our liquid file. After that, we hit save, then we go back to our staging theme.
Customizing Your Shopify Scrolling Text

Adding the Wavy-Marquee Section
Again, this is the one with the initial dev, and I'll hit customize right here so that we can build the page. When we click "add a section," there will now be an option for us to add the wavy-marquee, so we can start typing wavy, and then this section will show up. Now once the wavy-marquee section is loaded, we can click here.
Configuring the Marquee Text
Under the settings of the wavy-marquee section, we'll find that we're prompted to add the marquee text. We may refer back to our resource vault entry, and opposite placeholder text, we'll find this placeholder text that you can copy, and then paste it right here. Now you'll find that we now have this wavy-marquee installed, and we can add some customizations.
Personalizing Appearance
For example, at the moment it has a transparent background, so if we'd like to add a background color to it, let's toggle off this transparent background and assign a background color of our choice. So for example, I can use any of these colors, and the text color can be adjusted as well, and the font size can be adjusted too, for example, if I'd like this to be bigger, and if you'd like to adjust the position of the background, we can use this background movement option.
So because I'd like this to move up the background color of green, I'll use a negative percentage value. So for example, negative 3%, so notice how this is a way for us to center the background relative to the text.
Extending the Marquee to Other Pages
And then once we have this installed, we can now place it anywhere within the page. So each page can have a wavy-marquee, so if you'd like this to show up on other pages as well, like a contact page or about page, it's totally possible to add this as well. So I recommend that on the section that is below this wavy-marquee, we can add some padding. Most of the themes will have this top and bottom padding option.
So for the second section, I'll just add some more padding. Of course, you'd want to replace this with your own statement. So all you need to do is add the statement right here and copy and paste it multiple times, similar to the length that you're not seeing in our more key text field.

Finalizing Your Design
Also, you'll find that there are some more options available for us, like custom path for text and custom path for the background. I'm not able to discuss these advanced options in this video, but I discussed this in more detail in my standout Shopify program. And as soon as you're happy with the changes that you've made, you may go ahead and publish this version of the theme.
We'd love to see what you create using our resources. Please tag us on Instagram via @squarestylist with your creations. And I'd like to note that while I would love to support you in implementing these section templates in your Shopify sites, each Shopify theme would have different existing codes. So I'm not able to provide personalized support via the comments below. But if you are looking for more high-touch support, I provide that inside my program, Standout Shopify.
Inside the program, I regularly share more creative layouts that you can easily add to your Shopify sites. And I personally attend to questions such that you can customize these sections to your branding or to the needs of your projects along with the fundamental lessons such that you'll learn more about how to maximize built-in features in Shopify such as metafields and meta objects.
And if aside from Shopify you're also creating Squarespace websites, please check out our video about adding a wavy marquee to Squarespace via the description box below or anywhere on this video.

How to add a file upload option to Squarespace and Shopify Forms
Video Walkthrough
Timestamped Overview
Ever wondered how to add a file upload feature to Squarespace and Shopify Forms? Look no further! In this video, I share a step-by-step guide on how I use Tally Forms to create free, beautiful, and robust forms that you may add to your web platform of choice.
0:00 Intro
3:50 Creating a free Tally Account
4:16 Adding form fields and labels
7:00 Add a file upload block
12:25 Publishing form and generating the embed link
13:16 Integrating Tally Form to Squarespace
15:43 Adding Tally Form to Shopify